In Windows it’s easy to take a screenshot. Press PrintScreen to grab the whole screen or ALT+PrintScreen to grab the current window. So why would anyone need a special ‘screen-grabbing’ application such as SnagIt?
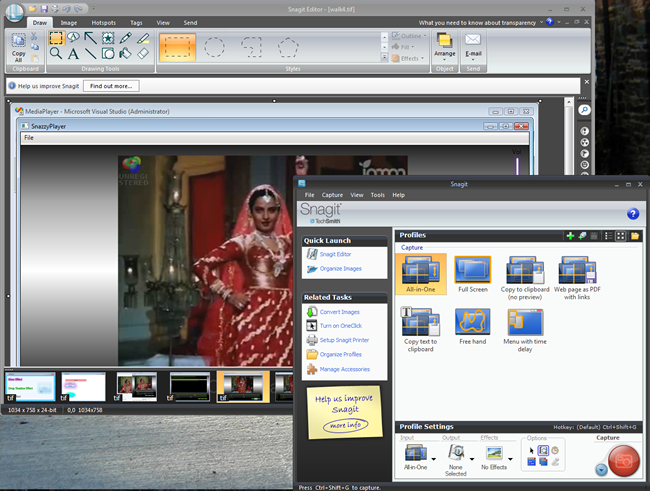
SnagIt comes in two parts: the capture tool (bottom right) and the image editor (behind)
There are, in fact, some very good reasons. SnagIt goes way, way beyond the built-in capabilities of Windows. Not only is its screen-grabber vastly more capable than the good old PrintScreen key but it also comes with a feature-rich image editor to let you enhance, resize, annotate your grabs and save them in a variety of different formats.
Anyone who writes for books, magazines, technical documents or web sites knows that screen grabs are invaluable for illustrating your words. Screen grabs can also be useful if you need to add static ‘drop in’ images to demos or tutorials made using screencast software such as Camtasia. Over the years, I’ve used several commercial screen capture tools for all of the above tasks - and I’ve even programmed a couple of screen-grabbers myself. But I can honestly say that I have never ever used a screen capture tool as powerful as SnagIt.
SnagIt 10 has a new ‘All In One’ mode. Instead of being forced to pick a type of capture (a window, the full screen, a marked region etc.) at the very outset, you can just start an ‘all in one’ capture and then decide exactly what you’d like to capture as you are doing it. When your mouse pointer moves around over the screen, ‘crosshair’ lines highlight the windows which it passes over allowing you to grab the entire window or scroll the crosshairs to mark an arbitrary rectangular region.
There are also some other types of capture available such as multi-area which lets you capture non-contiguous areas by selecting, say, two windows on screen and saving them (but nothing else) as a single image separated by transparent areas and freehand capture which lets you grab non-rectangular areas. It will even capture text - this makes it possible to copy the text from a web page, say, without capturing any graphics or make a copy of text embedded into dialog boxes - something you can’t do with the standard Windows cut-and-paste.
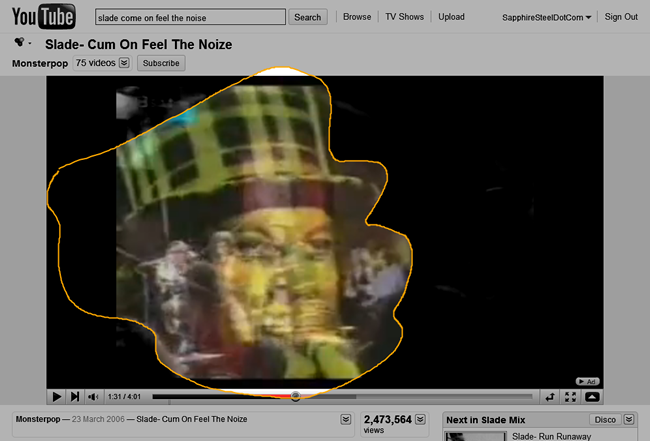
You can even mark out an area to be captured by drawing ‘freehand’
A common problem when capturing regions is that it can be very hard, when using the mouse, to select a pixel-perfect rectangle. For example, you may want to capture right up to the edge of a window but avoid capturing any of the background beyond this. SnagIt can help out here by letting you use the keyboard in addition to the mouse, moving the capture area one pixel at a time and previewing the focal point of the capture crosshairs in an onscreen ‘magnifying glass’.
Once you’ve captured an image you can apply effects to it in the SnagIt editor. You can cut out marked sections and add ‘edge effects’ so that the edges look like torn or folded paper, for example. You can add annotations and arrows, draw circles and boxes and apply drop shadows. You can rotate and resize, change the colours or add highlights. When you’ve finished you can save to disk in a large number of graphics formats, you can copy the image to the clipboard or send it direct to Excel, Word or PowerPoint.
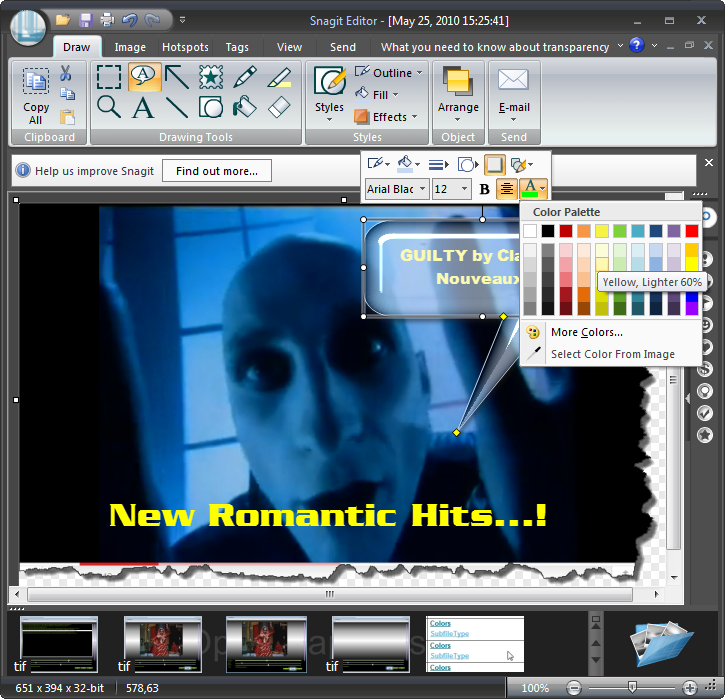
The editor lets you add effects such as ‘torn edges’ drop shadows, annotations and callouts
One of the disadvantages of such a big program is that its very size can sometimes making solving an easy problem seem unexpectedly difficult. To take a case in point: I wanted to save a series of captures in 24-bit TIF format with LZW RGB compression. But every time I saved a capture the TIF default reverted to 32-bit uncompressed (resulting in gigantic files). According to the Help I should be able to check some options to retain my preferred file format. But I just couldn’t find those damn’ options! It took me about half an hour to track them down. They were not (as I’d expected) in the SnagIt Editor’s File Save dialog and associated Options. They were, in fact, in the File, Properties Options of the SnagIt Capture tool. Once set, these settings are applied by clicking a ‘Finish Profile’ button but not (as I had expected) when choosing File/Save. OK, so this is not a huge problem in the great scheme of things, but it is indicative of the complexity of SnagIt.
Overall this is an exceptionally powerful combination of an image capture tool and image editor. If you’ve exhausted the possibilities of the PrintScreen key, SnagIt may be the thing you need.